


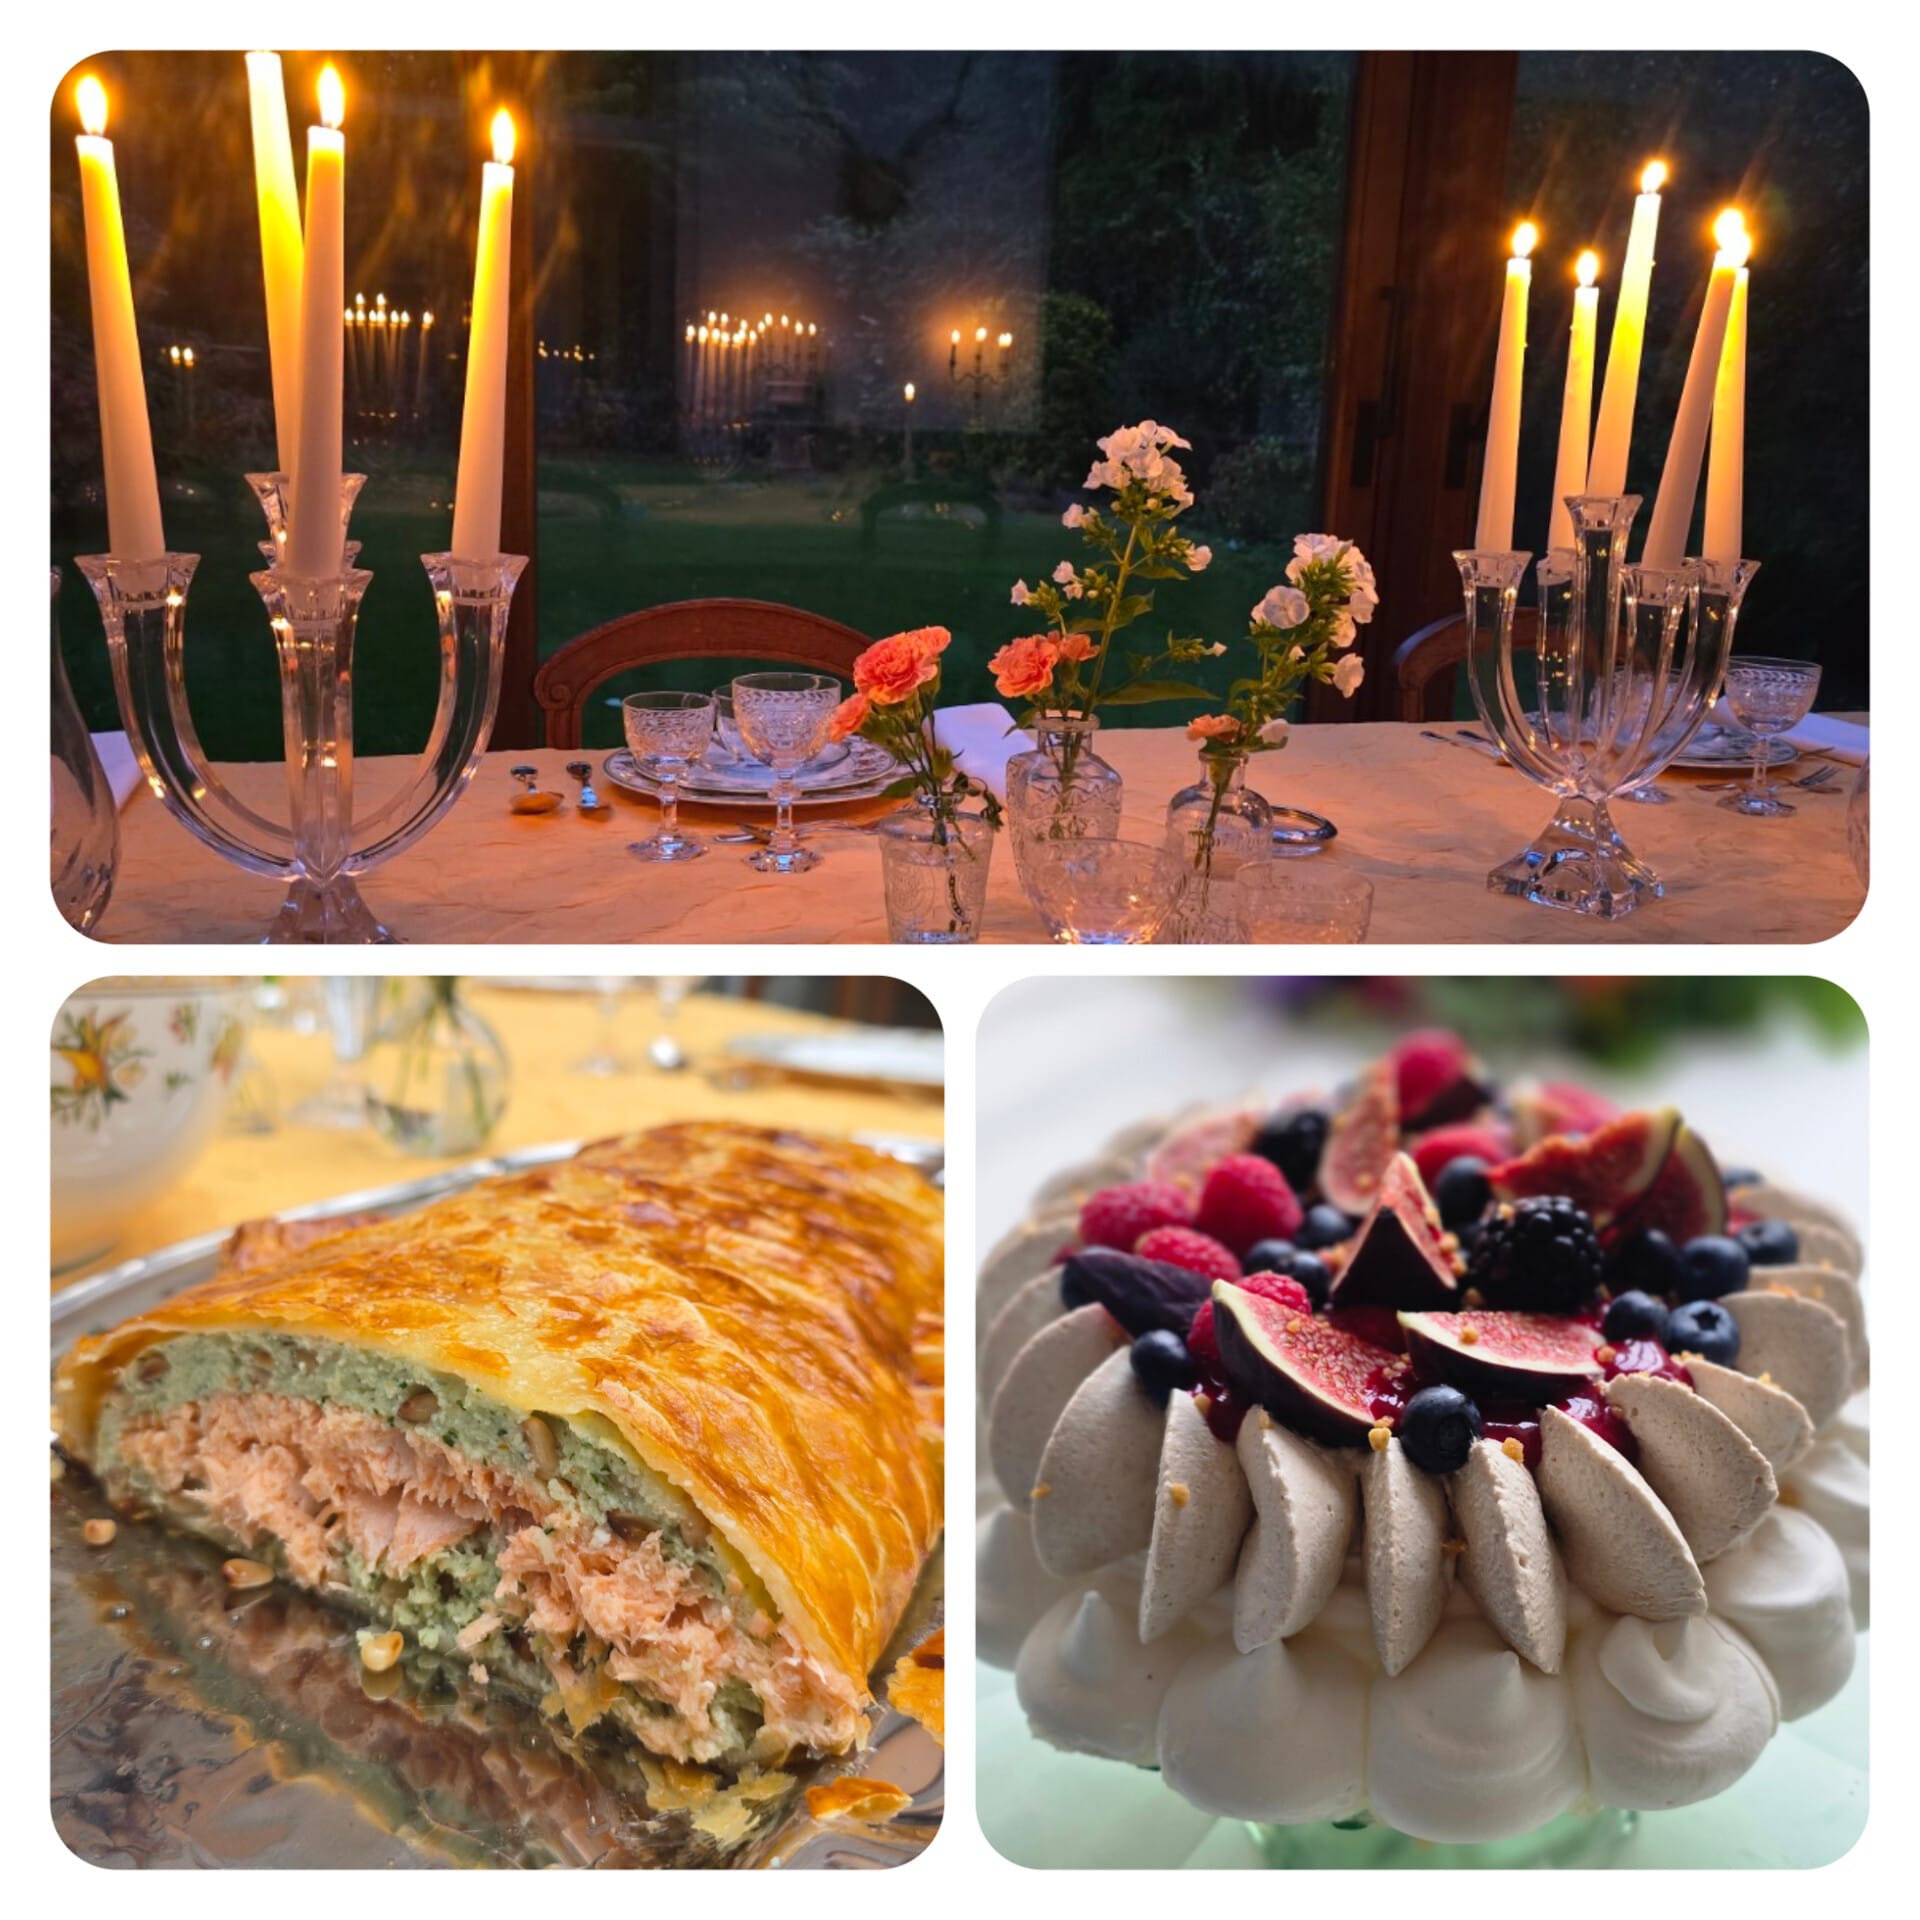
THE MENUS IN MY PREMIUM AREA
If I were to host three dinner parties this autumn, these are the menus I’d choose…
Three opportunities to get together around a lovely table.
MENU No. 2 — A Thursday evening
What an idea! I’ve invited some friends round on Thursday evening for a proper dinner.
Crispy savoury puff pastry · Poultry with tarragon · Chocolate & orange
How about we finally took the time to entertain guests?
Pears, chanterelles & hazelnuts · Roast lamb · Autumn pavlova
MENU No. 15 — An evening with a difference
How about we do something a bit out of the ordinary tonight?
Autumn Cappuccino · Salmon in a golden coating · Chocolate & pear
For each menu: the recipes, the shopping list and my plan of action to organise everything in advance.
Your guests are seated.
You too.

Tiramisu-style chocolate biscuit tart (traditional method & Thermomix)
Description
A cake that combines everything you love about tiramisu ... but in an even more generous and easy-to-serve form. Made in one of my favourite moulds, an upside-down tart mould (approx. 28 cm) that I use for a variety of cakes, including my Fruit tart with pastry cream.
The chocolate biscuit remains soft and chewy, even after being soaked in coffee. On top, a light, creamy mascarpone cream adds sweetness and balance.
It's the kind of cake that can be prepared without stress, made in advance and placed in the centre of the table to be shared.
Perfect for a family snack, a coffee with friends or simply to treat yourself to something simple ... but really good.
Ingredients
Instructions
-
TRADITIONAL METHOD
-
1. The chocolate biscuit
- - Preheat the oven to 180°C.
- - Beat the eggs, water, sugar and vanilla for 5 to 7 minutes until fluffy.
- - Sift together the flour, cocoa and baking powder, then gently fold in the oil with a spatula.
- - Pour into a greased tin and bake for around 15 minutes.
- - Leave to cool on a wire rack.
-
2. Mascarpone cream
- - Bring the sugar and water to 121°C.
- - Whisk in the yolks and drizzle in the hot syrup.
- - Continue whisking until cool.
- - Stir in the mascarpone.
- - Whisk the egg whites until stiff and fold in gently.
- For home use, you can simply whisk the yolks + sugar together without syrup.
-
3. Assembly
- - Soak the biscuit in the coffee.
- - Spread with the mascarpone cream.
- - Sprinkle with cocoa.
- - Chill for at least 3 hours (ideally overnight).
-
THERMOMIX® METHOD
-
1. The chocolate biscuit
- - Preheat the oven to 180°C.
- - Grease a pie tin.
- - Insert the butterfly whisk.
- - Place the eggs, water, sugar and vanilla in the bowl.
- - Whisk for 8 mins / 37°C / speed 4, then for 2 mins / speed 4 without heating.
- - Remove the whisk.
- - Add the flour, cocoa, baking powder and oil.
- - Mix for 15 sec / speed 2, then finish with a spatula if necessary.
- - Pour into the tin and bake for around 15 minutes.
- - Leave to cool.
-
2. Mascarpone cream
- - Insert the whisk.
- - Whisk the egg whites: 3 min / speed 3.5 → set aside
- - Beat yolks + sugar: 4 min / speed 3.5
- - Add the mascarpone: 20 sec / speed 3
- - Fold in the egg whites using a spatula.
- Option: 121°C syrup can be used, but not essential for everyday use.
-
3. Assembly
- - Soak the biscuit in the coffee.
- - Spread the cream.
- - Sprinkle with cocoa.
- - Set aside in a cool place.
