


MENU No. 15
How about we do something a bit out of the ordinary tonight?
Entertaining, laying a lovely table, serving something that really makes an impression…
A complete menu, including the recipes, the shopping list and my plan of action.
Almost everything is prepared in advance.
Your guests are seated.
You too.
Traditional creamy hummus (traditional method & Thermomix)
Description
Everyone in my circle knows that I love aperitifs – often to the point of replacing a starter with a wide selection of appetisers. I only discovered hummus when I arrived in England, as it wasn't known in Austria when I was growing up. It was a real revelation: an oriental dip made from chickpeas and tahini, simple but incredibly tasty. I first bought it at the supermarket, but soon started making it myself – it's so quick and easy, especially with a good blender (or a Thermomix). Today, I'm sharing the traditional version of hummus, a classic that you can customise to your liking. On the blog, you'll also find my variations, such as tomato and basil hummus or caramelised onion hummus.
Ingredients
Instructions
- TRADITIONAL METHOD
Preparation (traditional method)
1. Place the chickpeas, lemon zest and juice, tahini, garlic, olive oil, cumin, salt and pepper in a blender. Blend until smooth.
2. Gradually add water until you achieve the desired consistency (more or less creamy, depending on your preference).
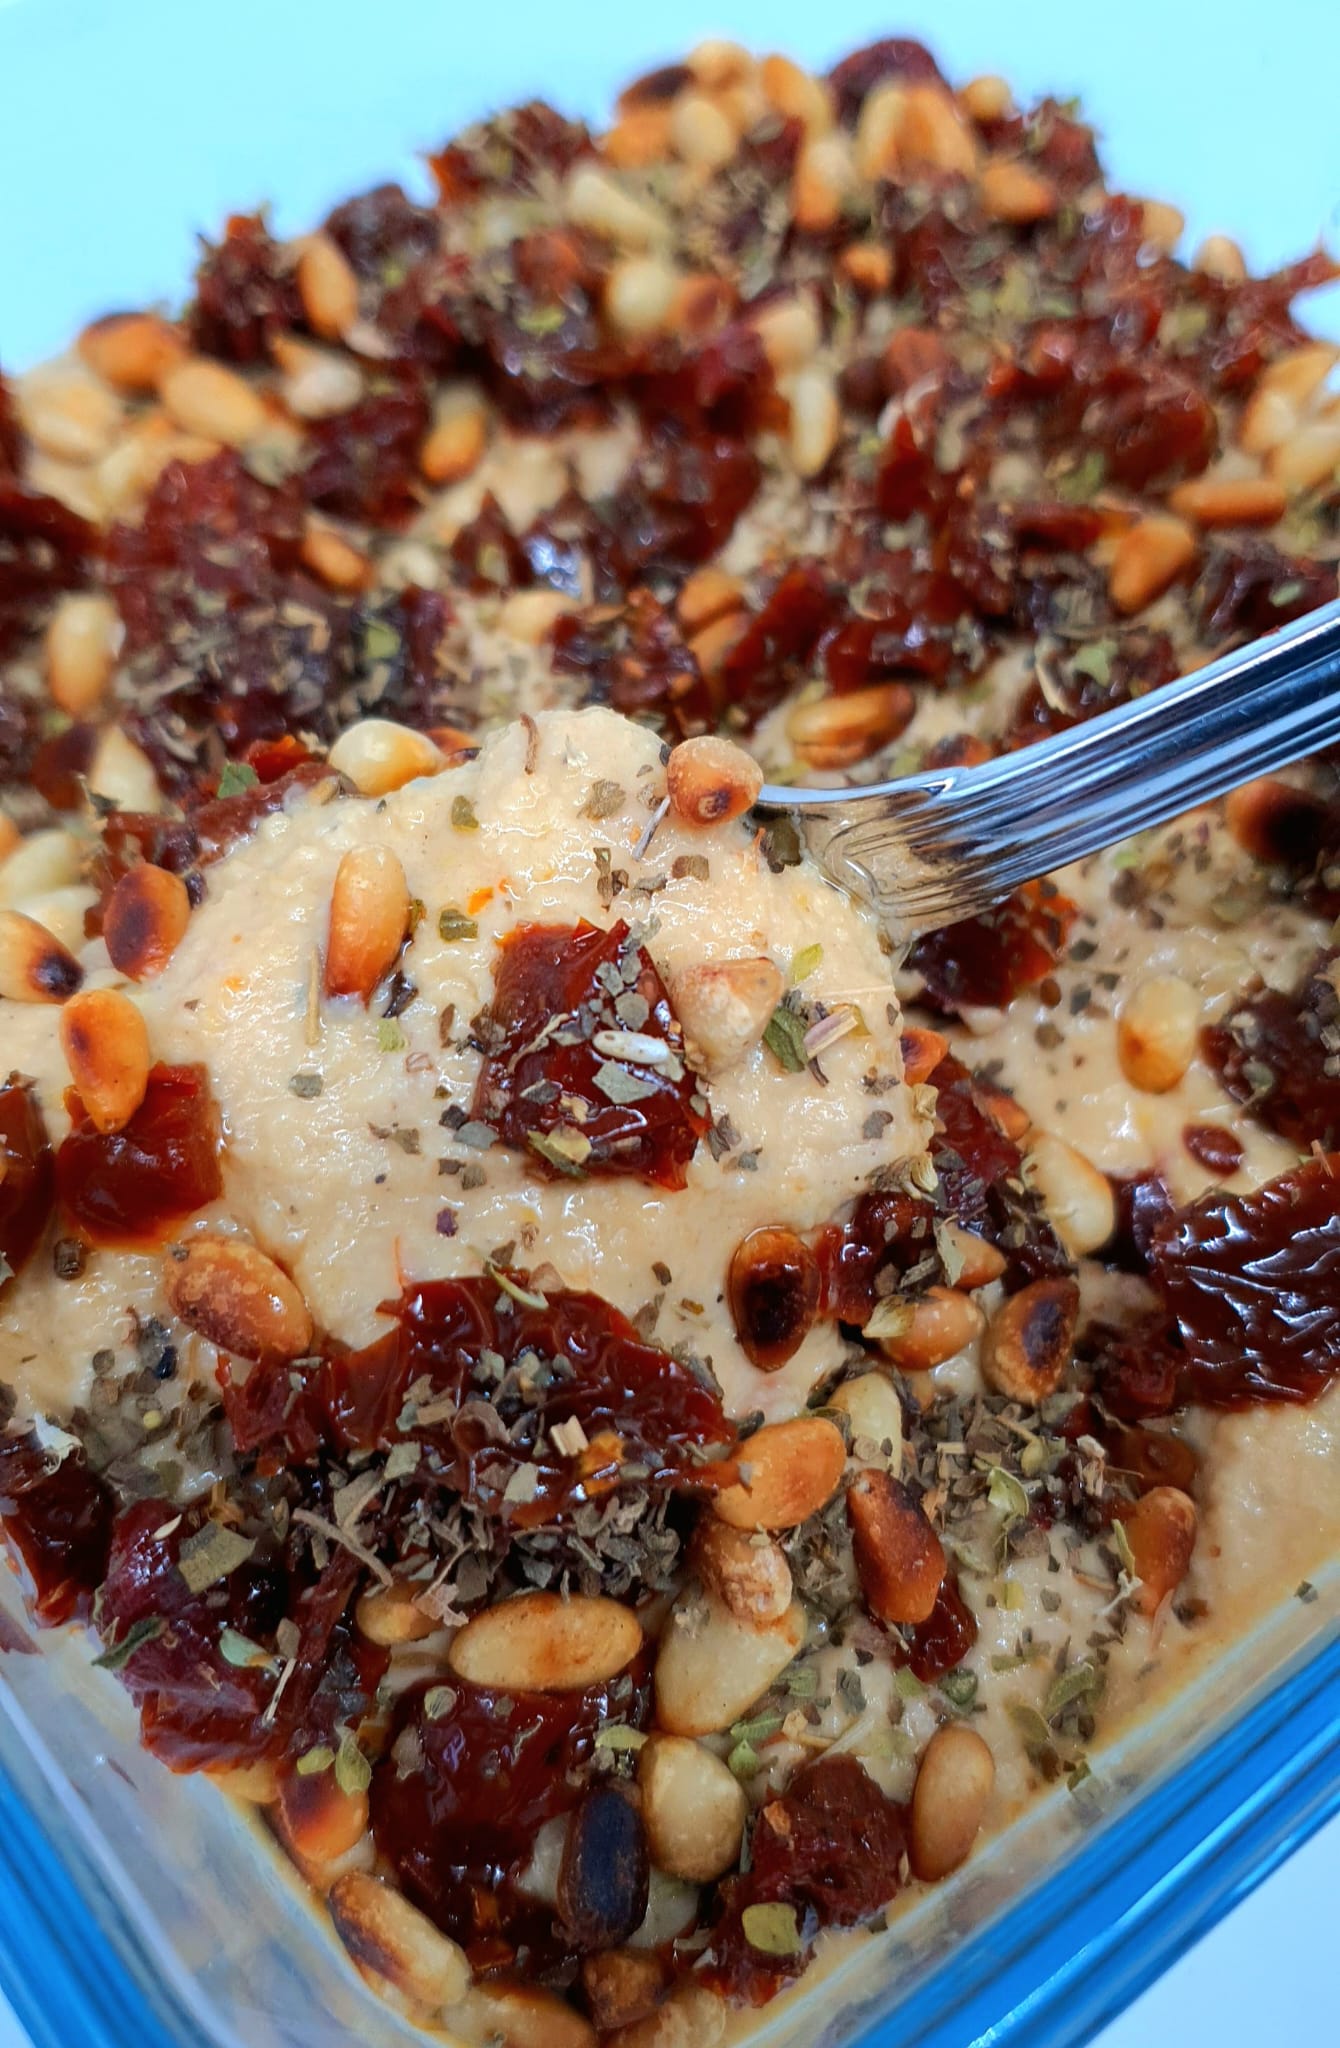
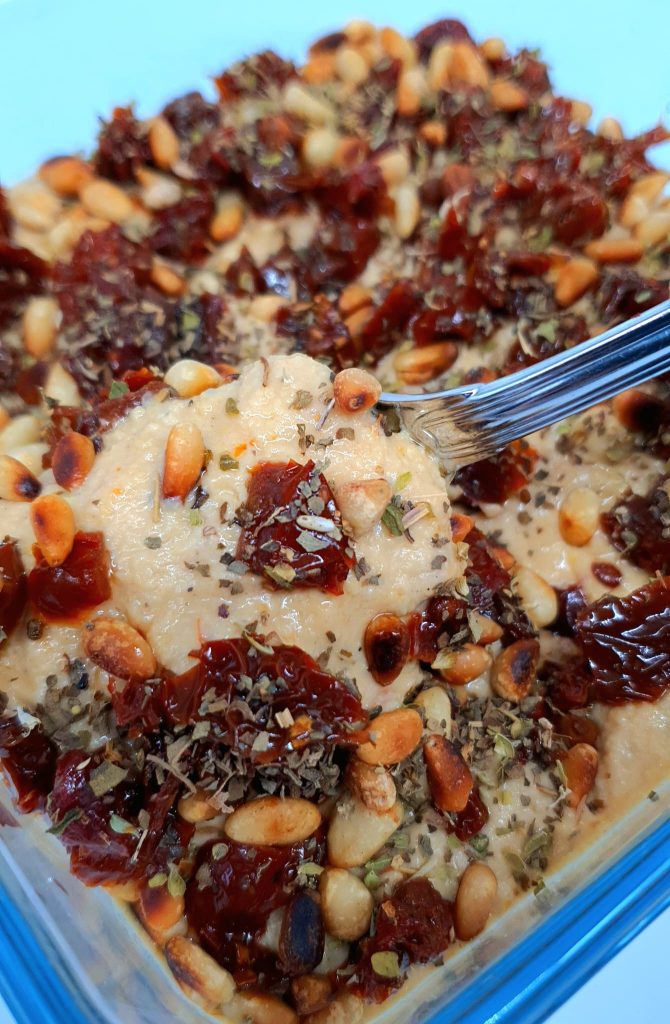
3. Serve the hummus in a bowl, making a few decorative swirls with a spoon. Garnish with pine nuts, sun-dried tomatoes, oregano and dried basil, then drizzle with olive oil.
THERMOMIX® METHOD
Preparation with Thermomix
1. Place all ingredients in the Thermomix bowl. Blend for 15–20 seconds / speed 10.
2. Gradually add water until you obtain a smooth texture.
3. Serve and decorate as in the traditional version.
